Installing Asahi Linux Fedora on M1 Mac mini

The M4 Mac mini has finally arrived! Let me share my first impressions: it’s smaller than its predecessor and boasts significantly better speaker quality. I was considering buying external speakers, but for now, I’ve paused that idea (though my ears might seek new gadgets soon). Now, it’s time to tackle a project I’ve been planning for a while—installing Asahi Linux on the M1 Mac mini.
Why Do I Need Linux? #
The primary reason for installing Asahi Linux is Docker. As a developer, Docker is indispensable. However, running Docker on Windows or macOS involves using a VM, which affects performance and consumes additional memory for the VM itself. To address these issues, I needed a fully Linux-based machine.
What Is Asahi Linux? #
When the M1 chip was released, I heard about the Asahi Linux project and eventually learned it had succeeded. Initially, I thought installing it required completely wiping the Mac mini and performing a clean installation. However, it turns out Asahi Linux supports dual-booting, which makes installation much more accessible. Dual-booting is necessary due to macOS’s authentication requirements.
I initially tried Asahi Ubuntu because of my preference for Ubuntu. I took plenty of screenshots during the process but encountered some issues. After some research, I found that Asahi Ubuntu is distributed from various sources, each with different update schedules.
The official source for Asahi Linux is here:

 Asahi Linux
Ultimately, I reset the Mac and installed the Fedora version. Let’s go through the installation steps.
Installation #
I plan to use the M1 Mac mini exclusively for Linux, so I freely reset macOS to free up storage space.
The official site provides a simple command to start:
curl https://alx.sh | sh
Running this command brings up the following screen:
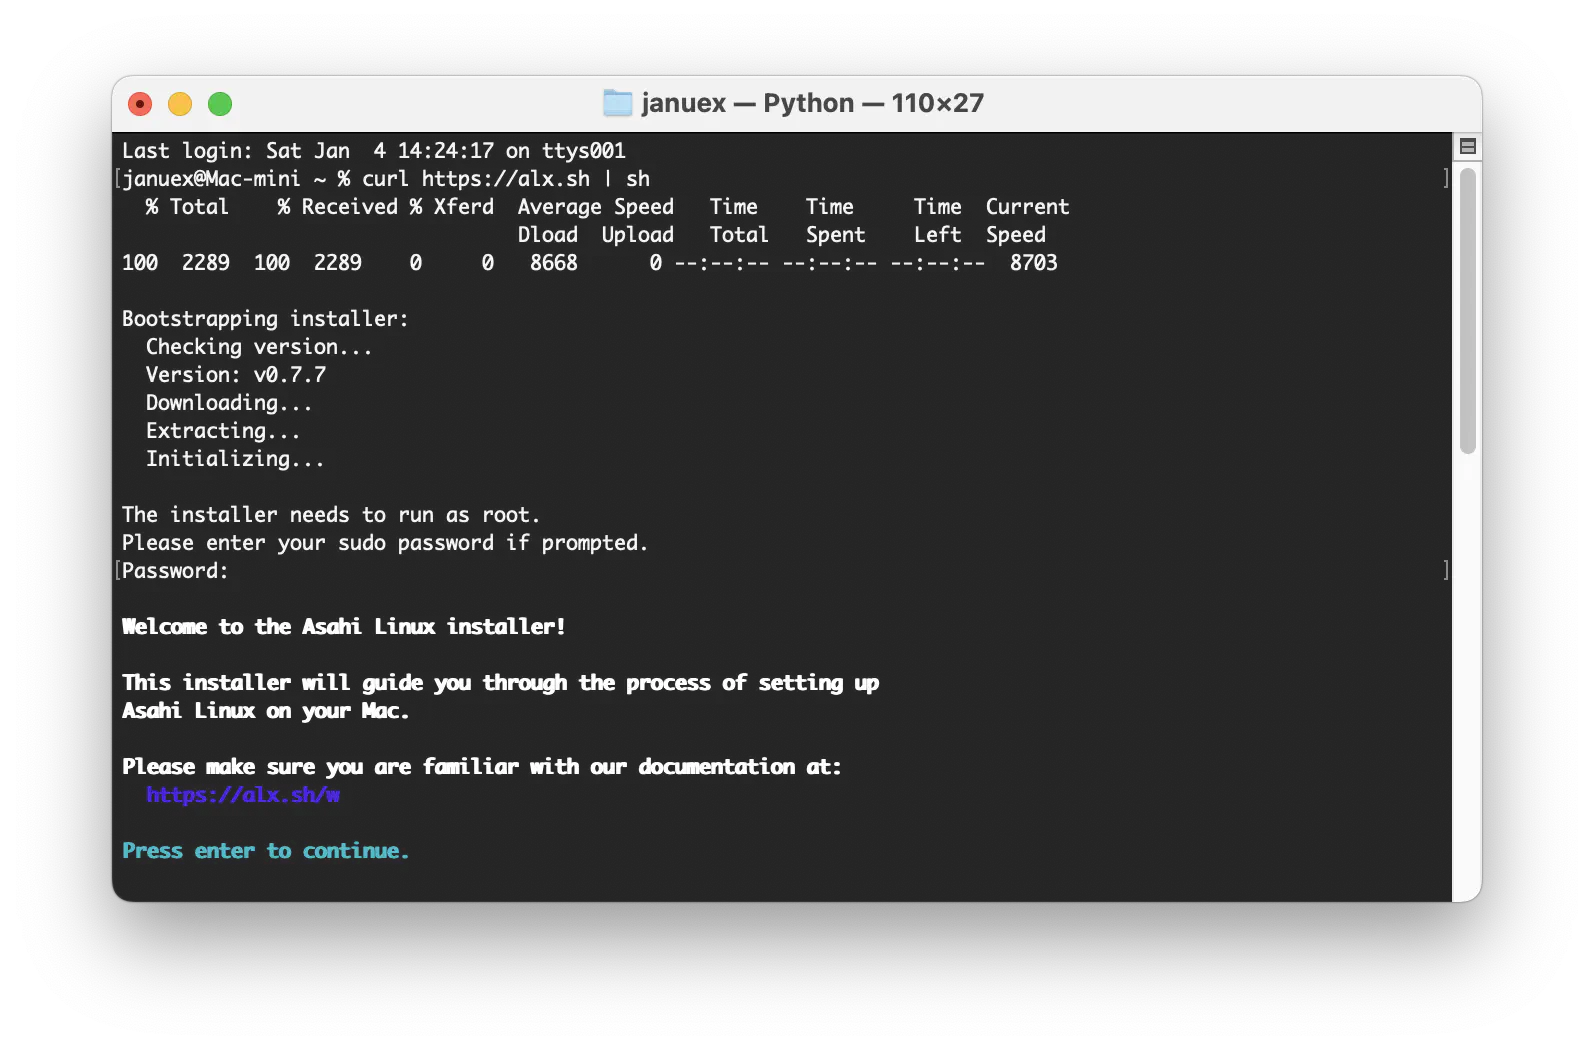
The bootstrapping installer is downloaded, and installation begins. The version being installed is v0.7.7. Press Enter to proceed.
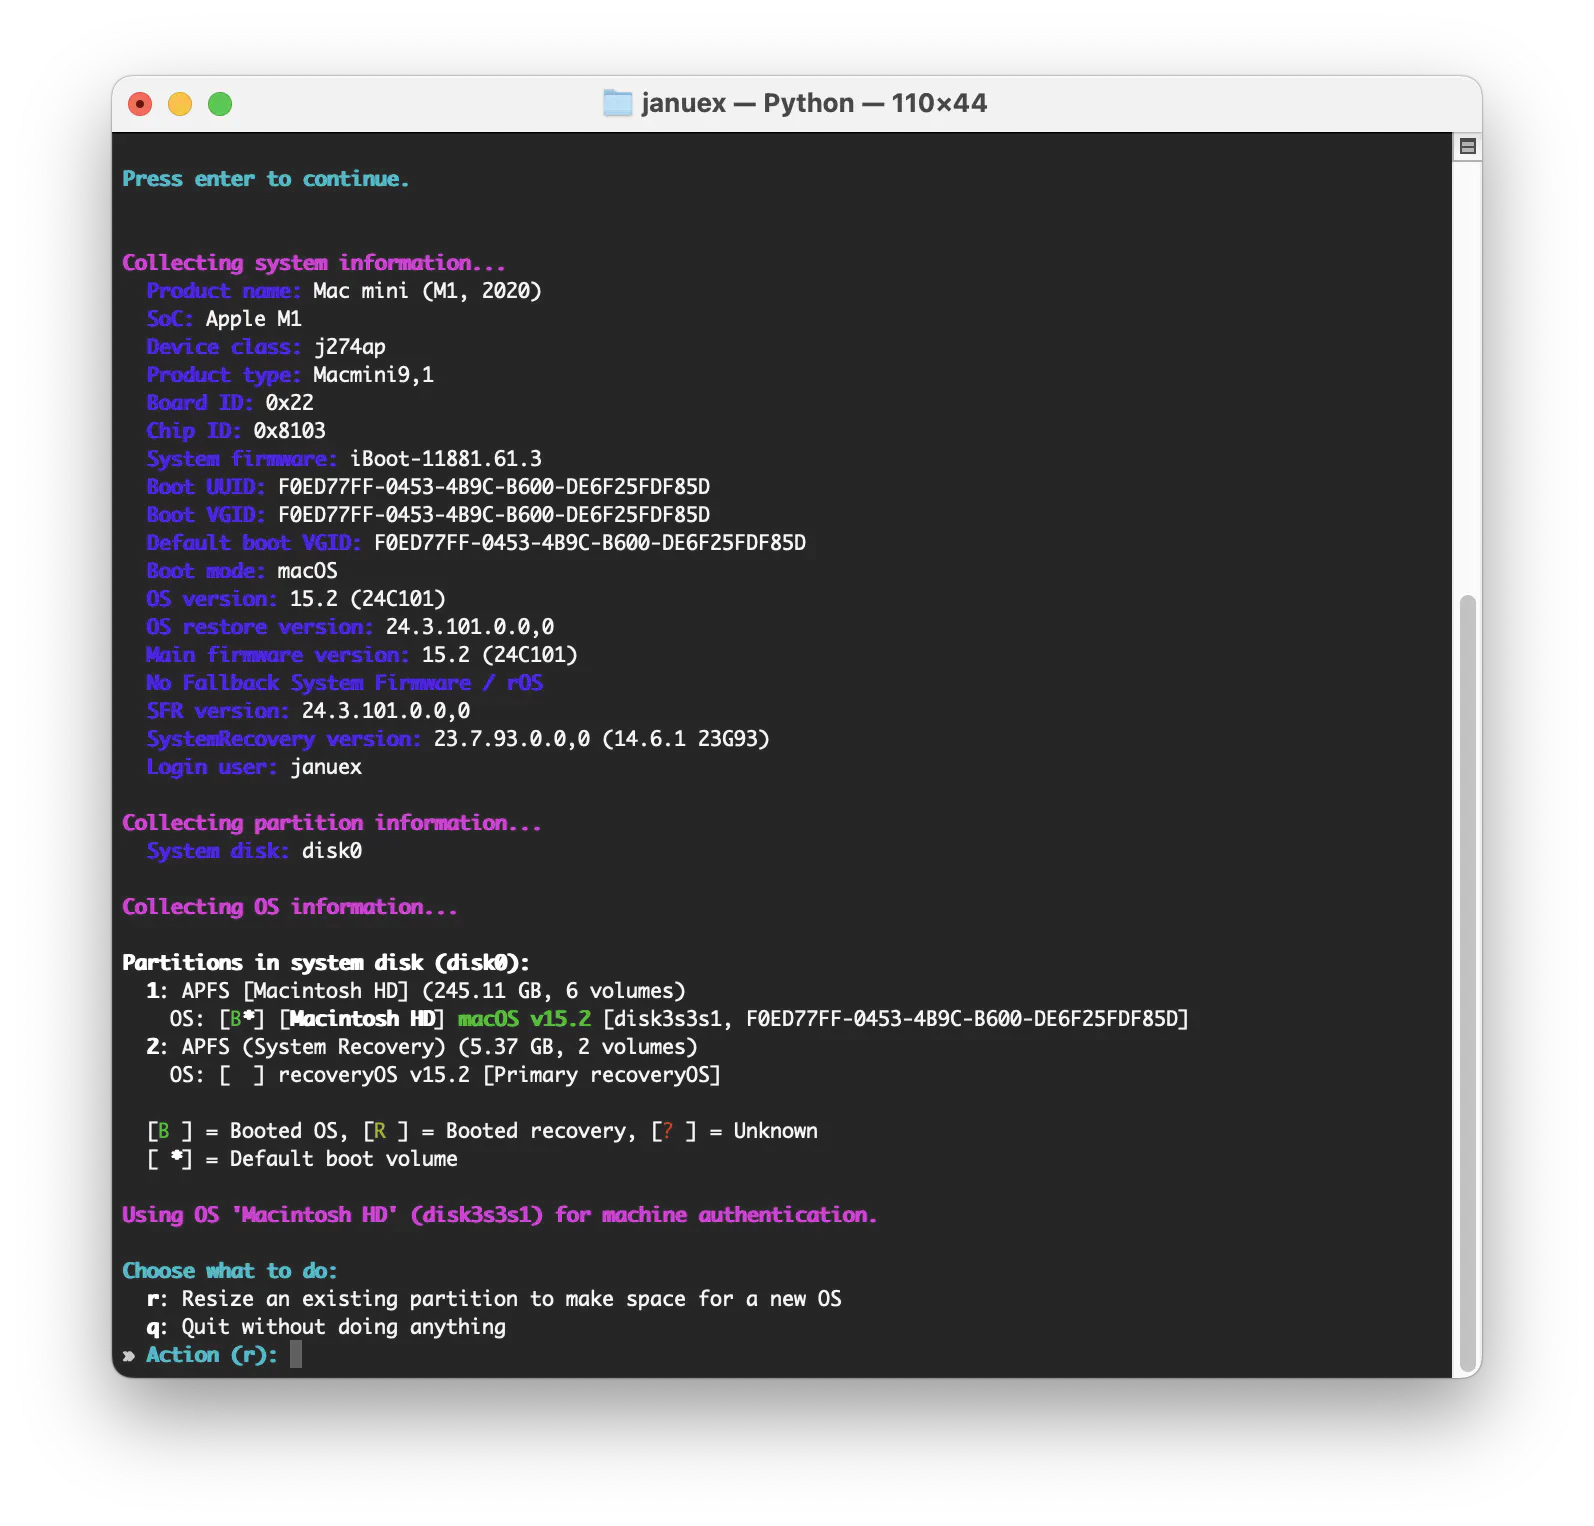
This step involves resizing macOS partitions to create space for Linux. Press r to continue.
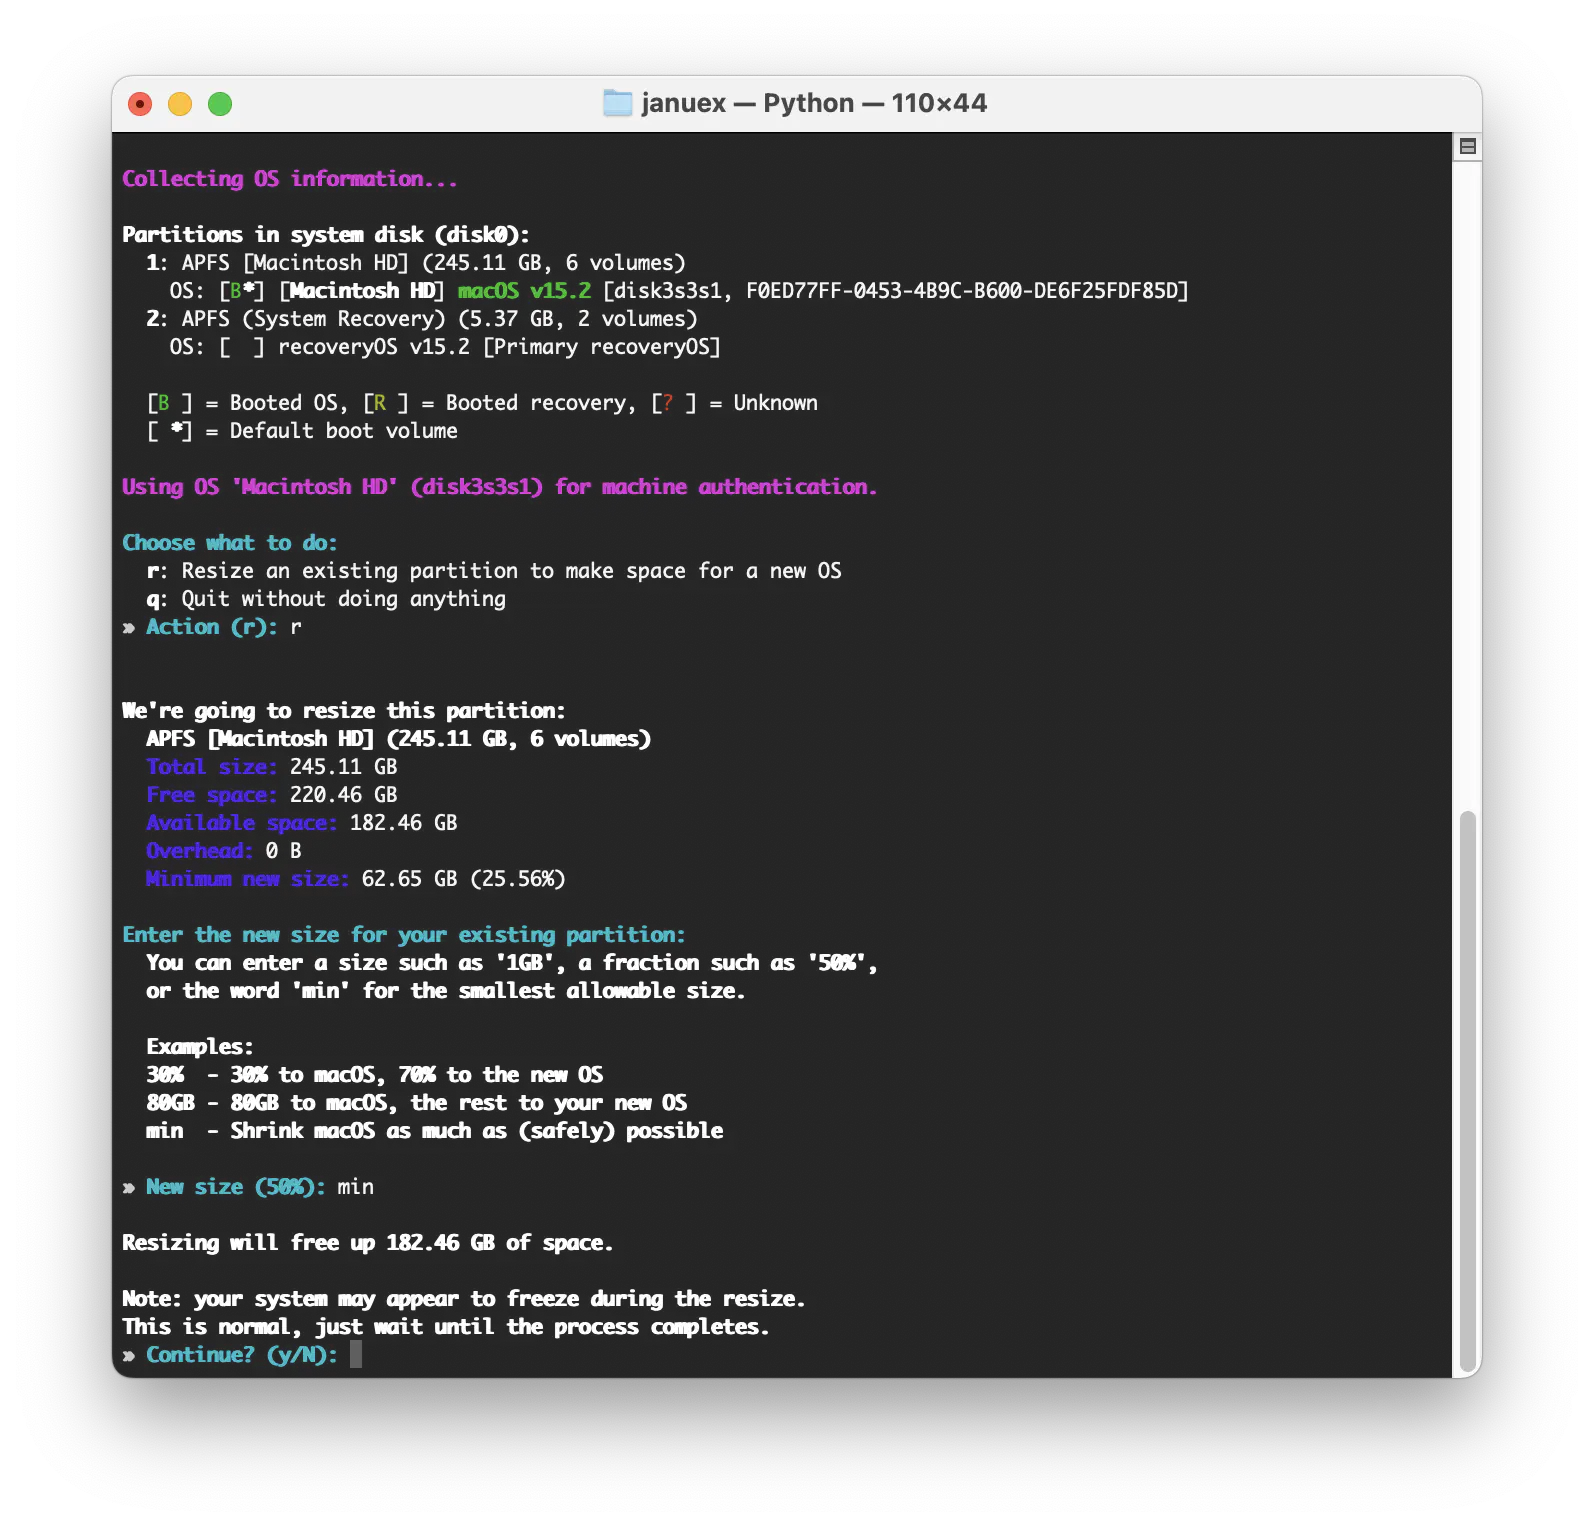
Since I reset the system, I had around 182GB available. To minimize macOS partition size, I entered min and pressed y to proceed.
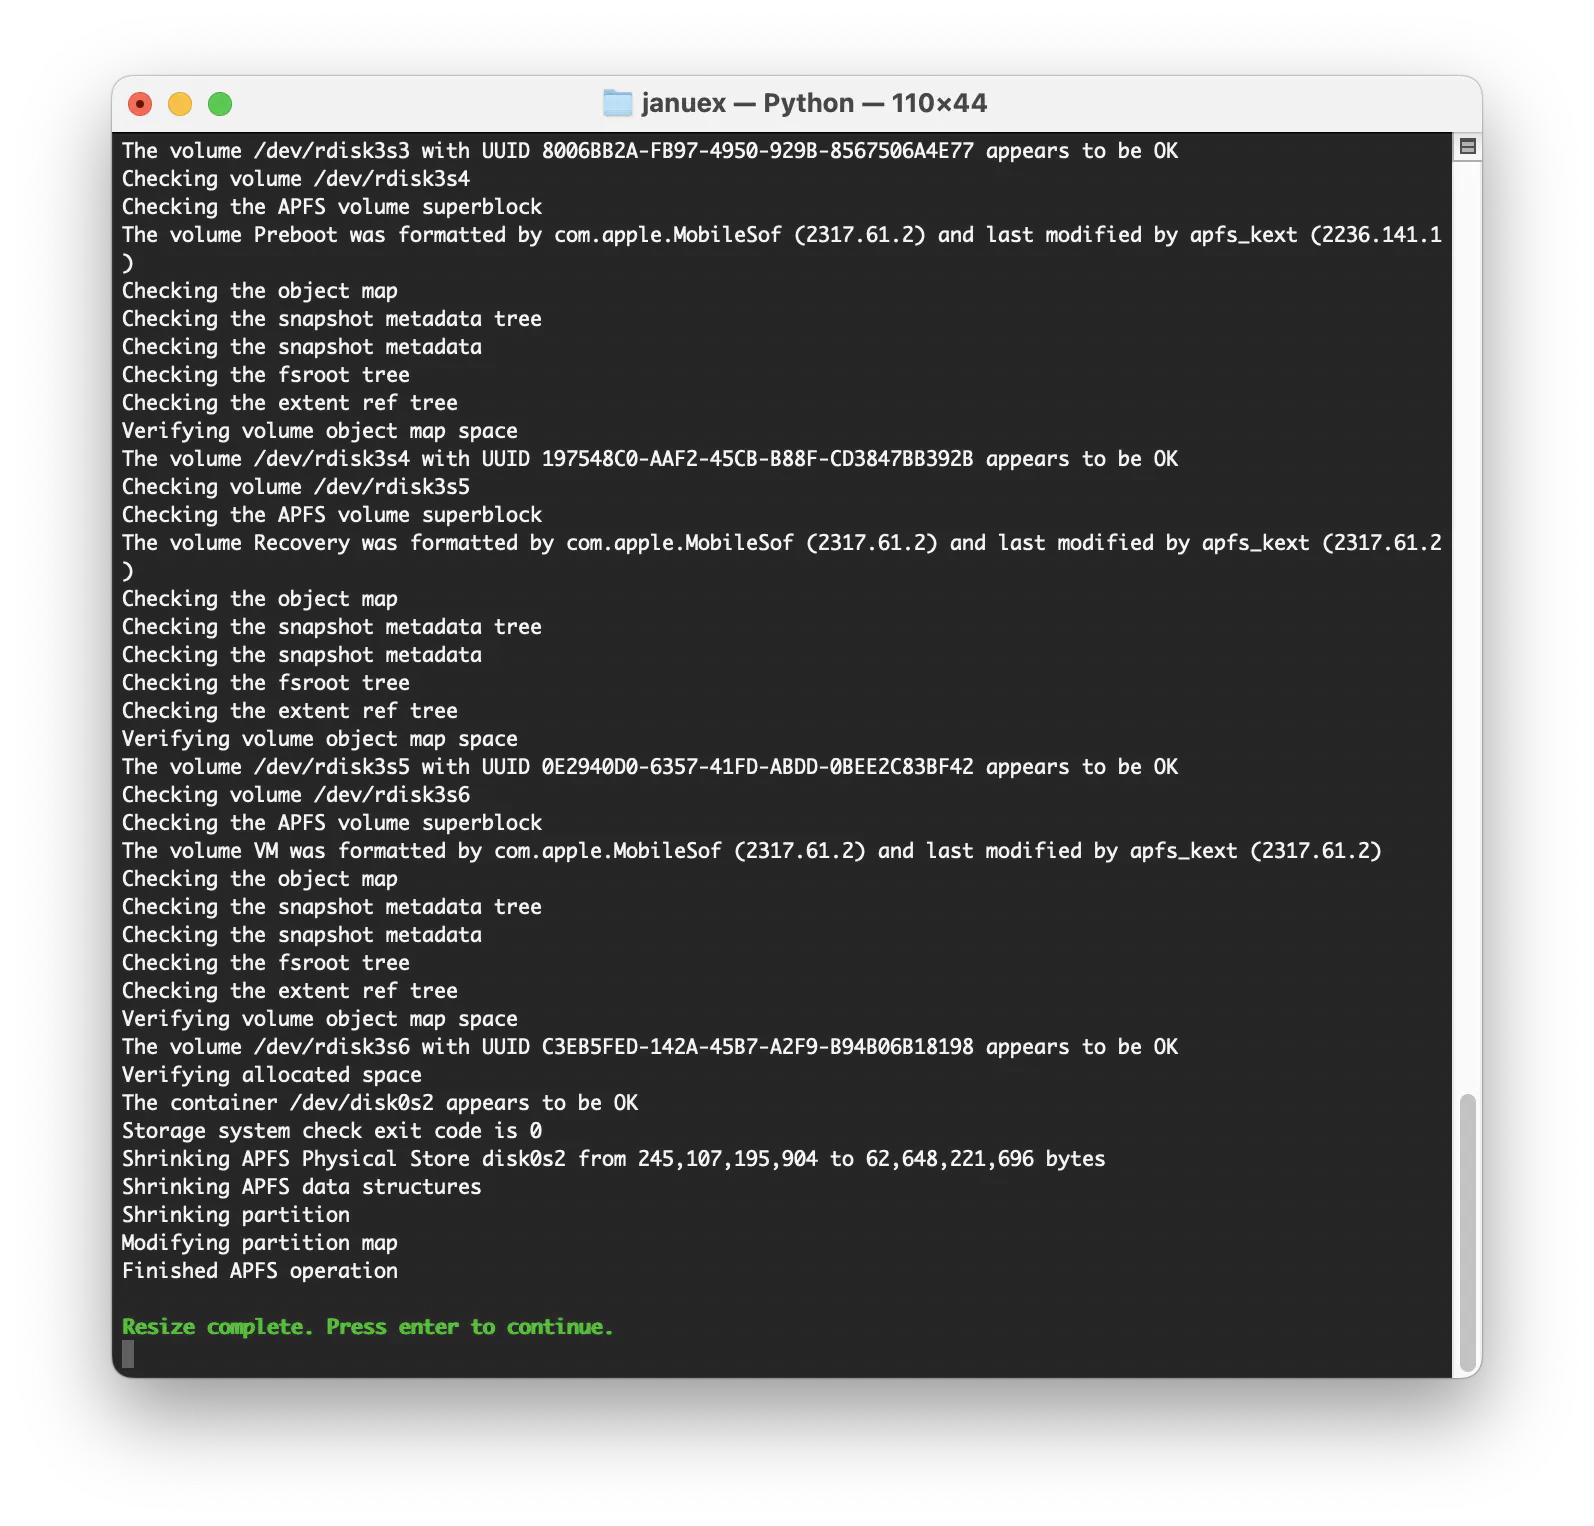
The partitioning process is complete.
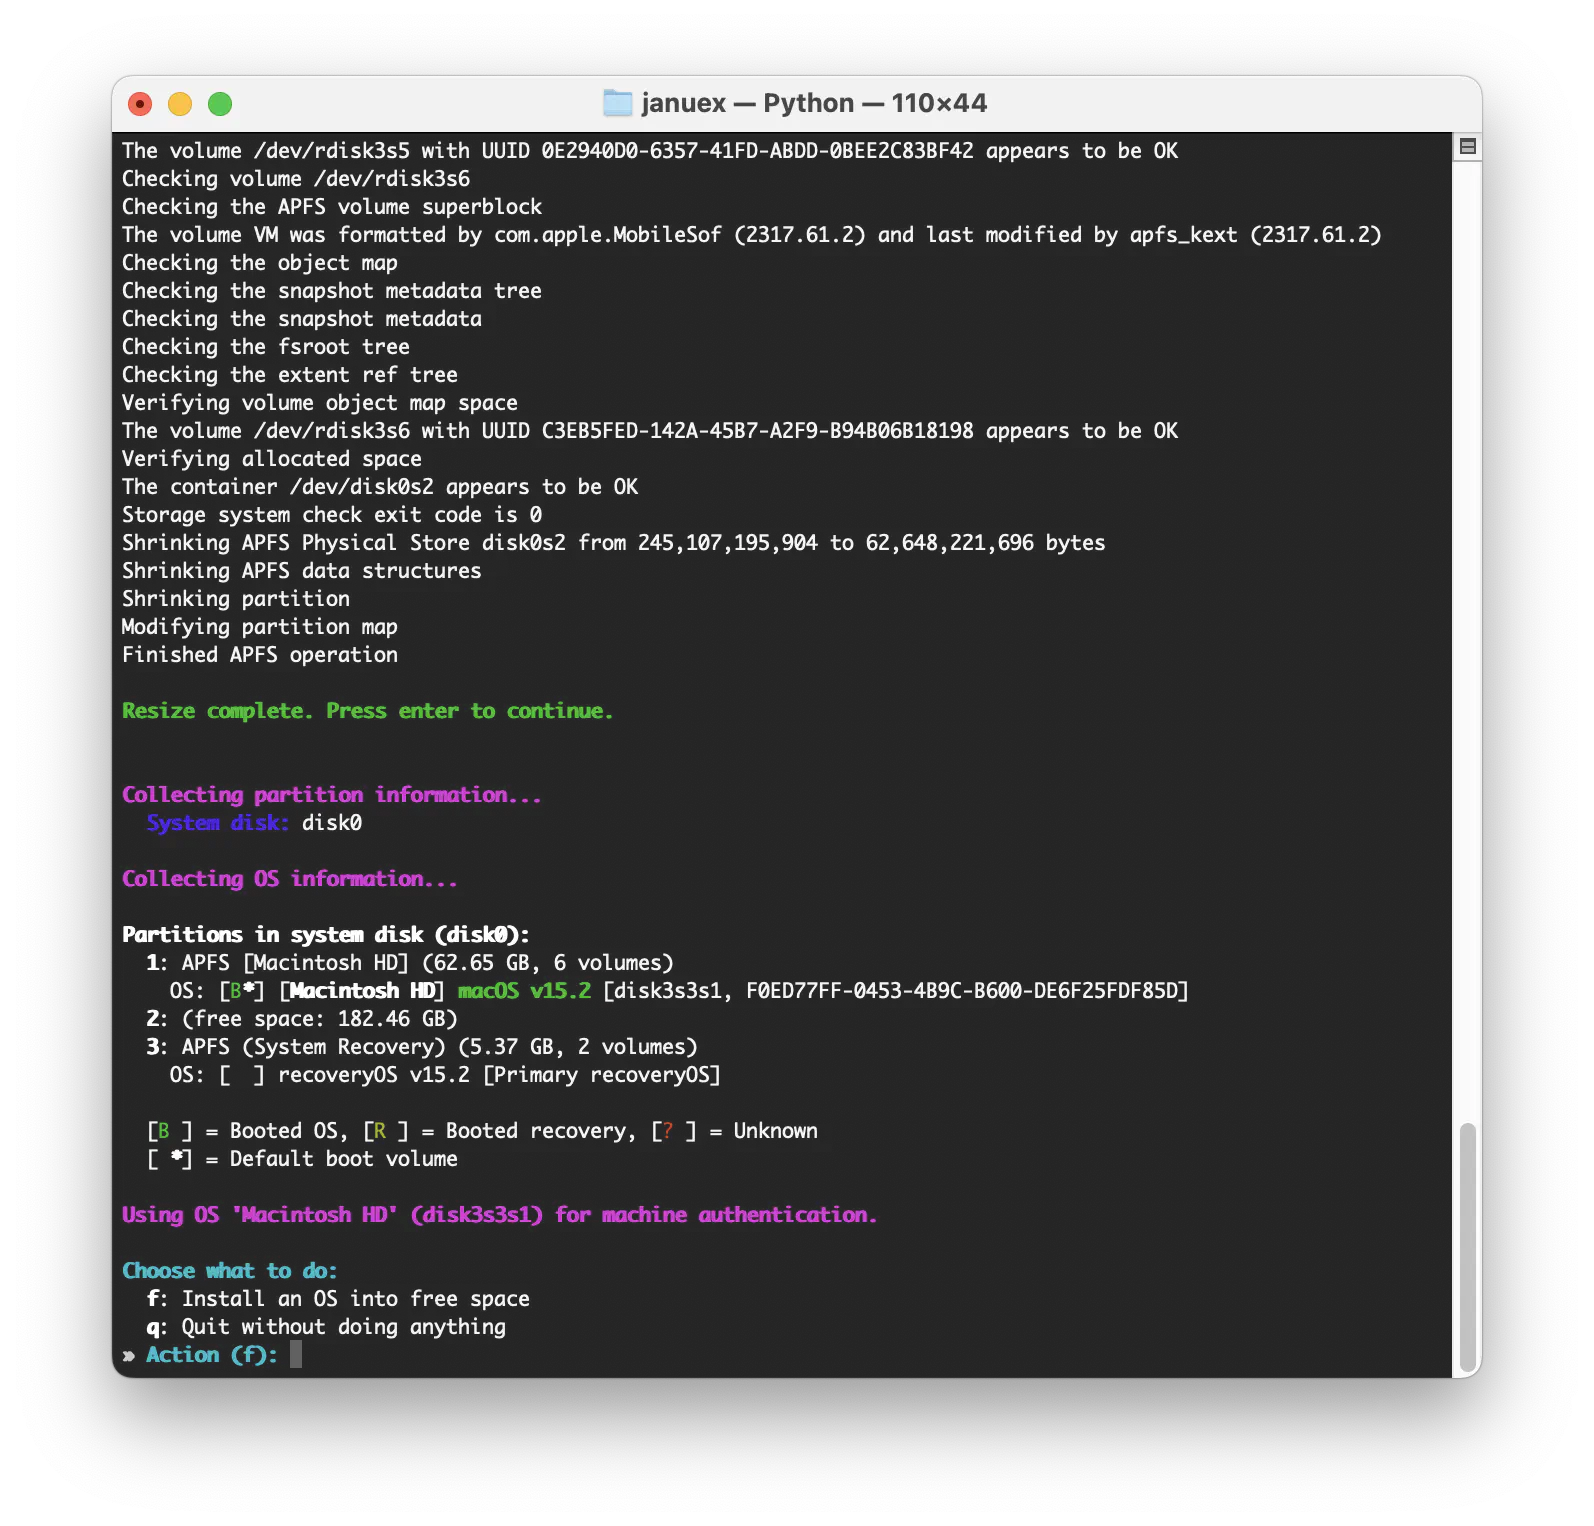
Next, press f to install Linux in the free space.
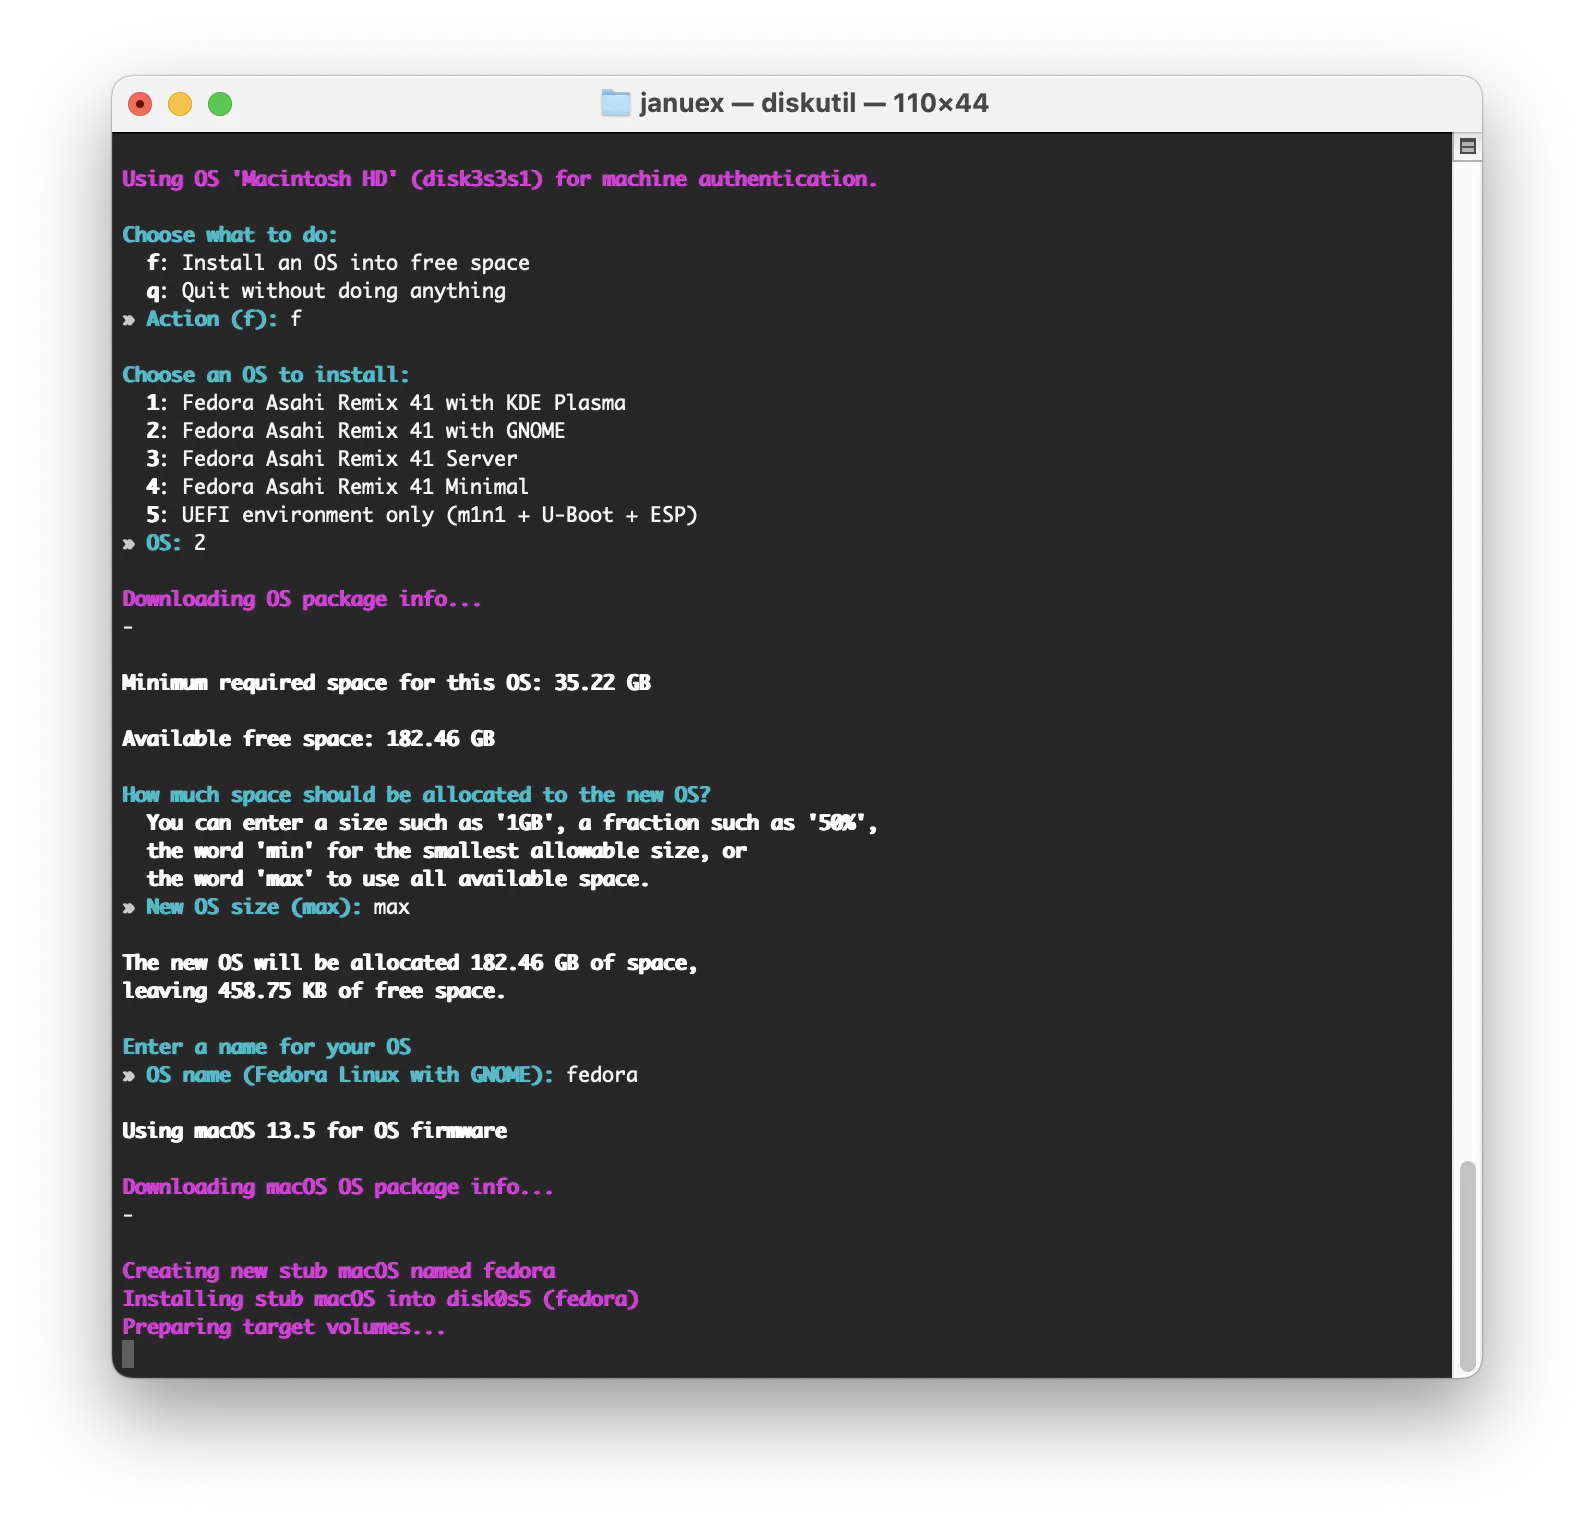
Although I’m not very familiar with Fedora, I chose option 2 for GNOME, which I have used before. To allocate as much space as possible to Fedora, I entered max.
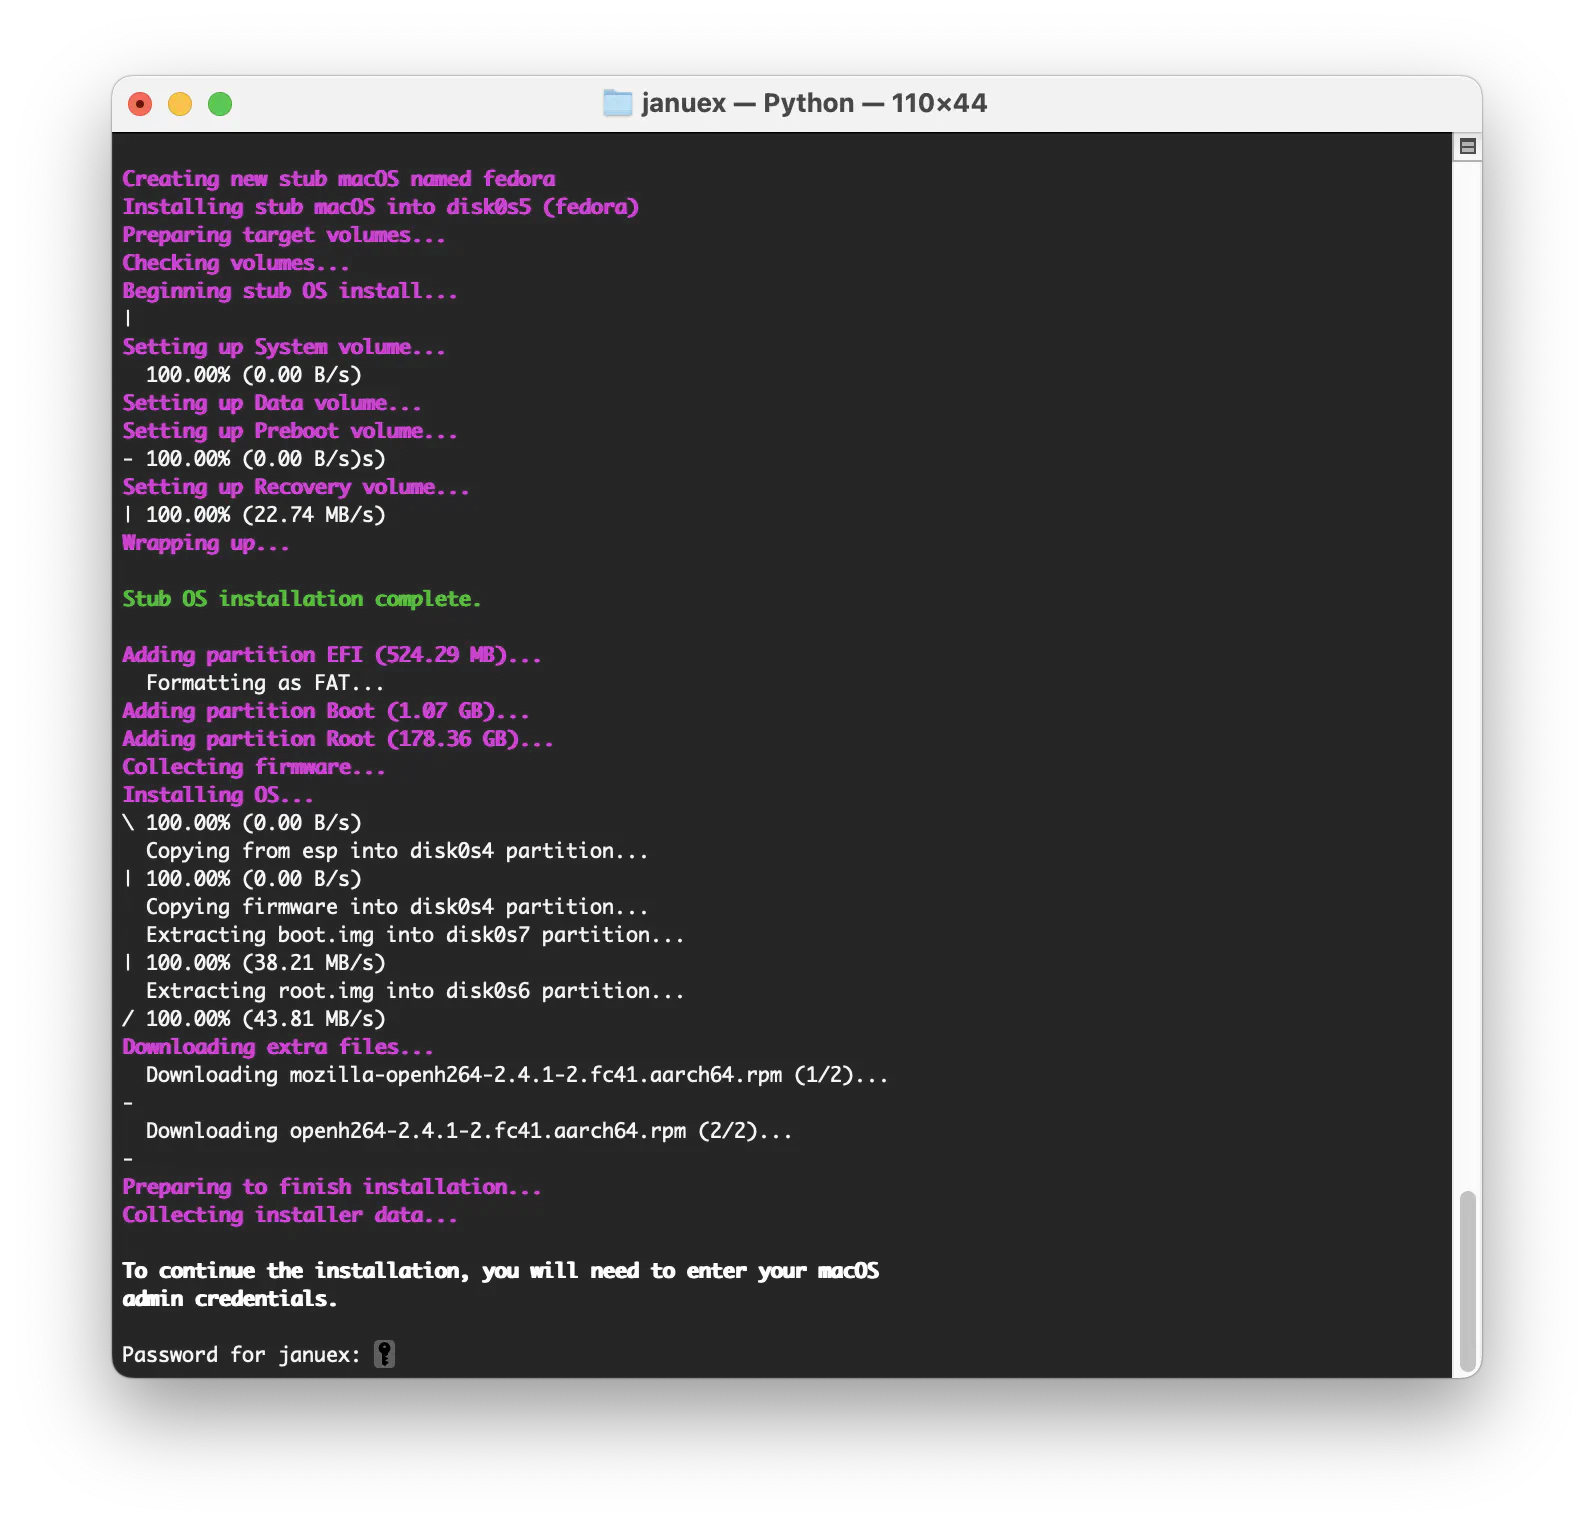
After some time, you’ll be prompted to enter your macOS account password.
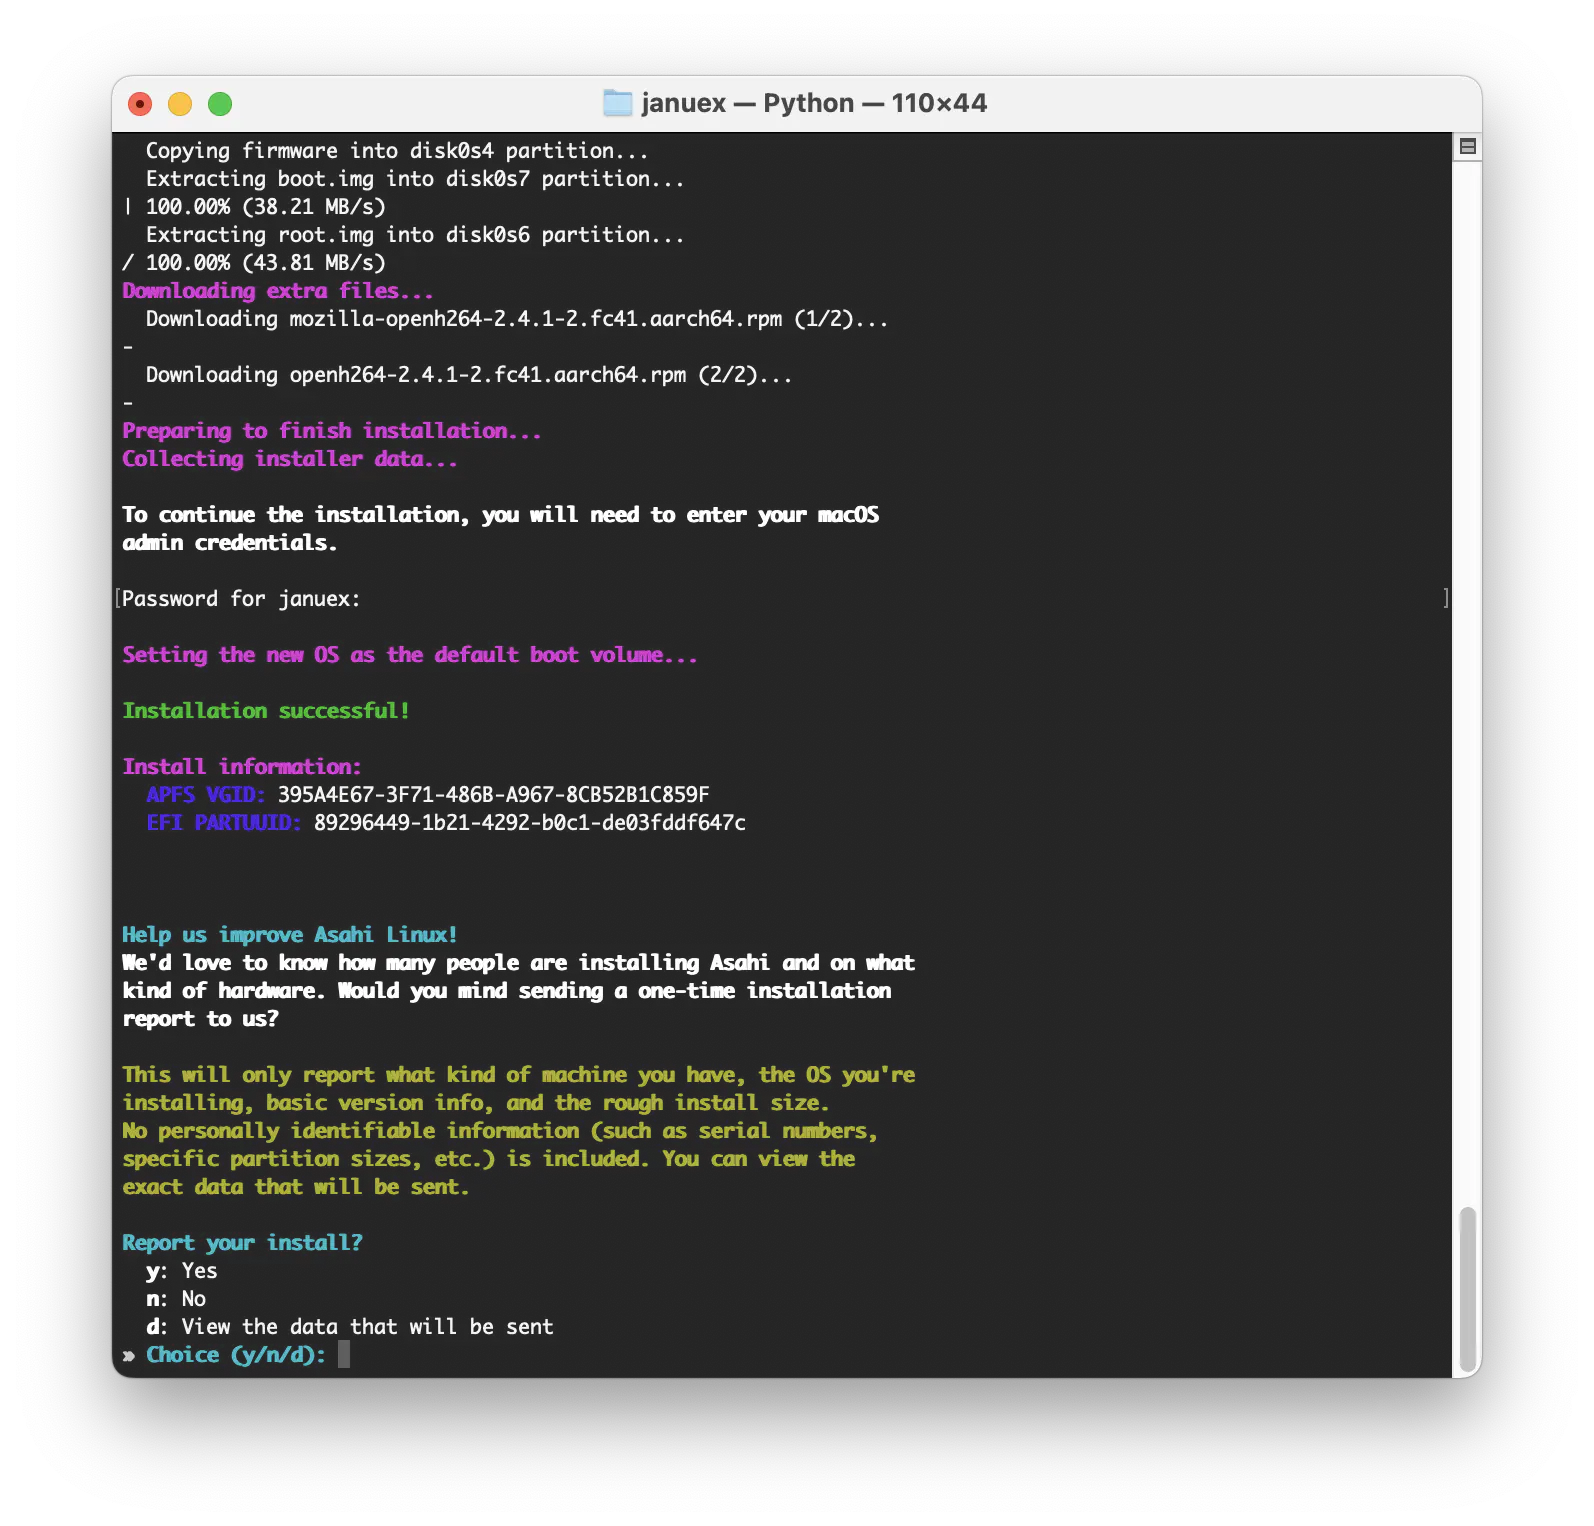
Choose whether to send usage reports.
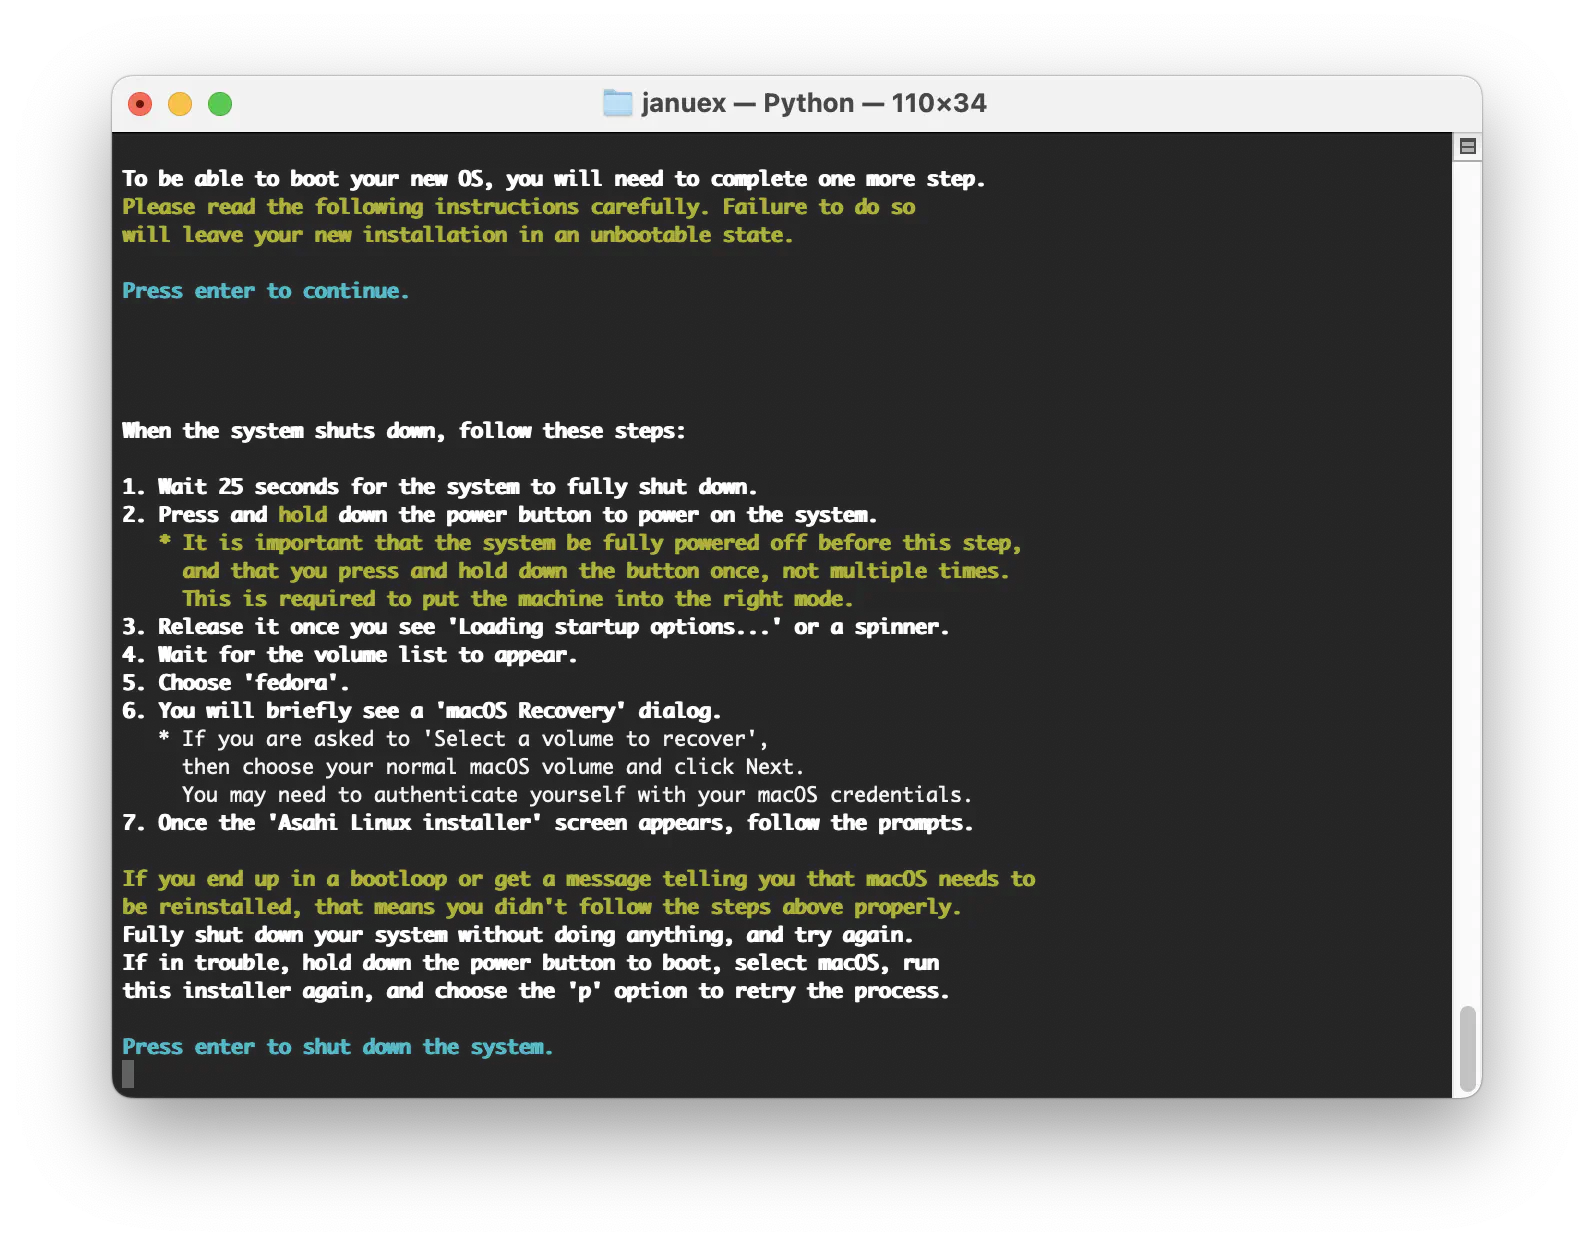
Once the installation is complete, you’ll see a long set of instructions. Follow these carefully. After rebooting, the Asahi Linux Installer screen appears.
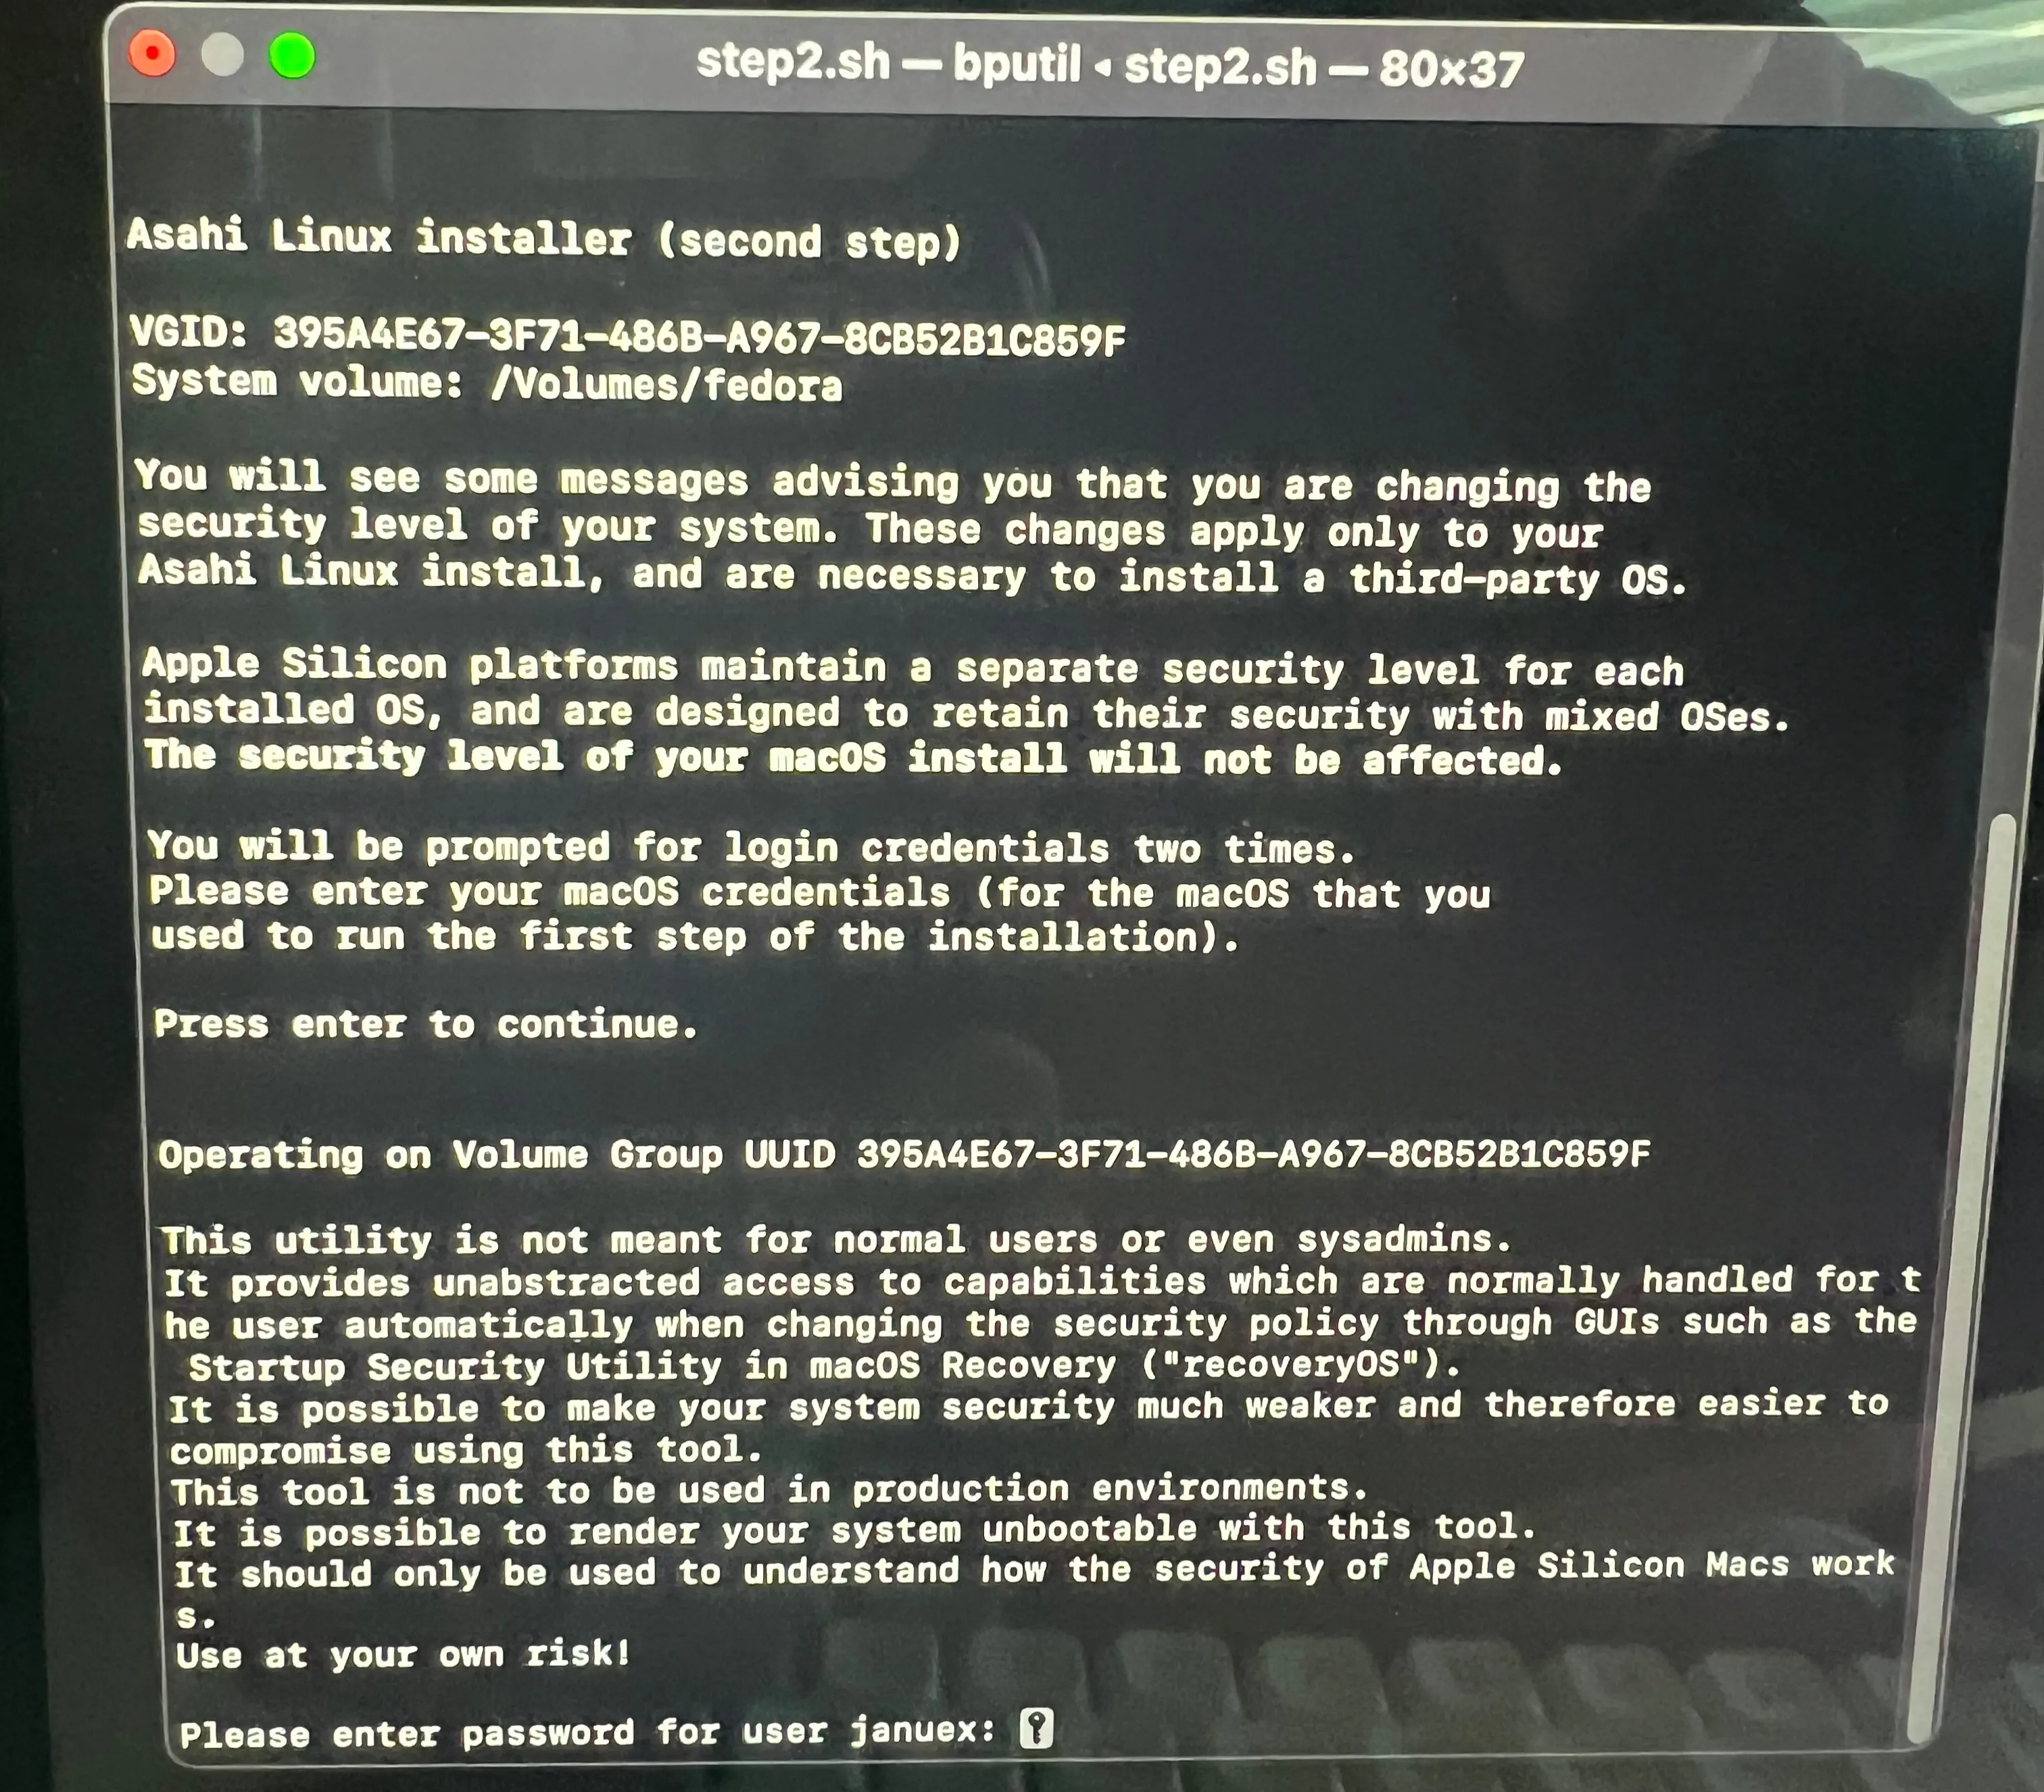
Enter your macOS account password.
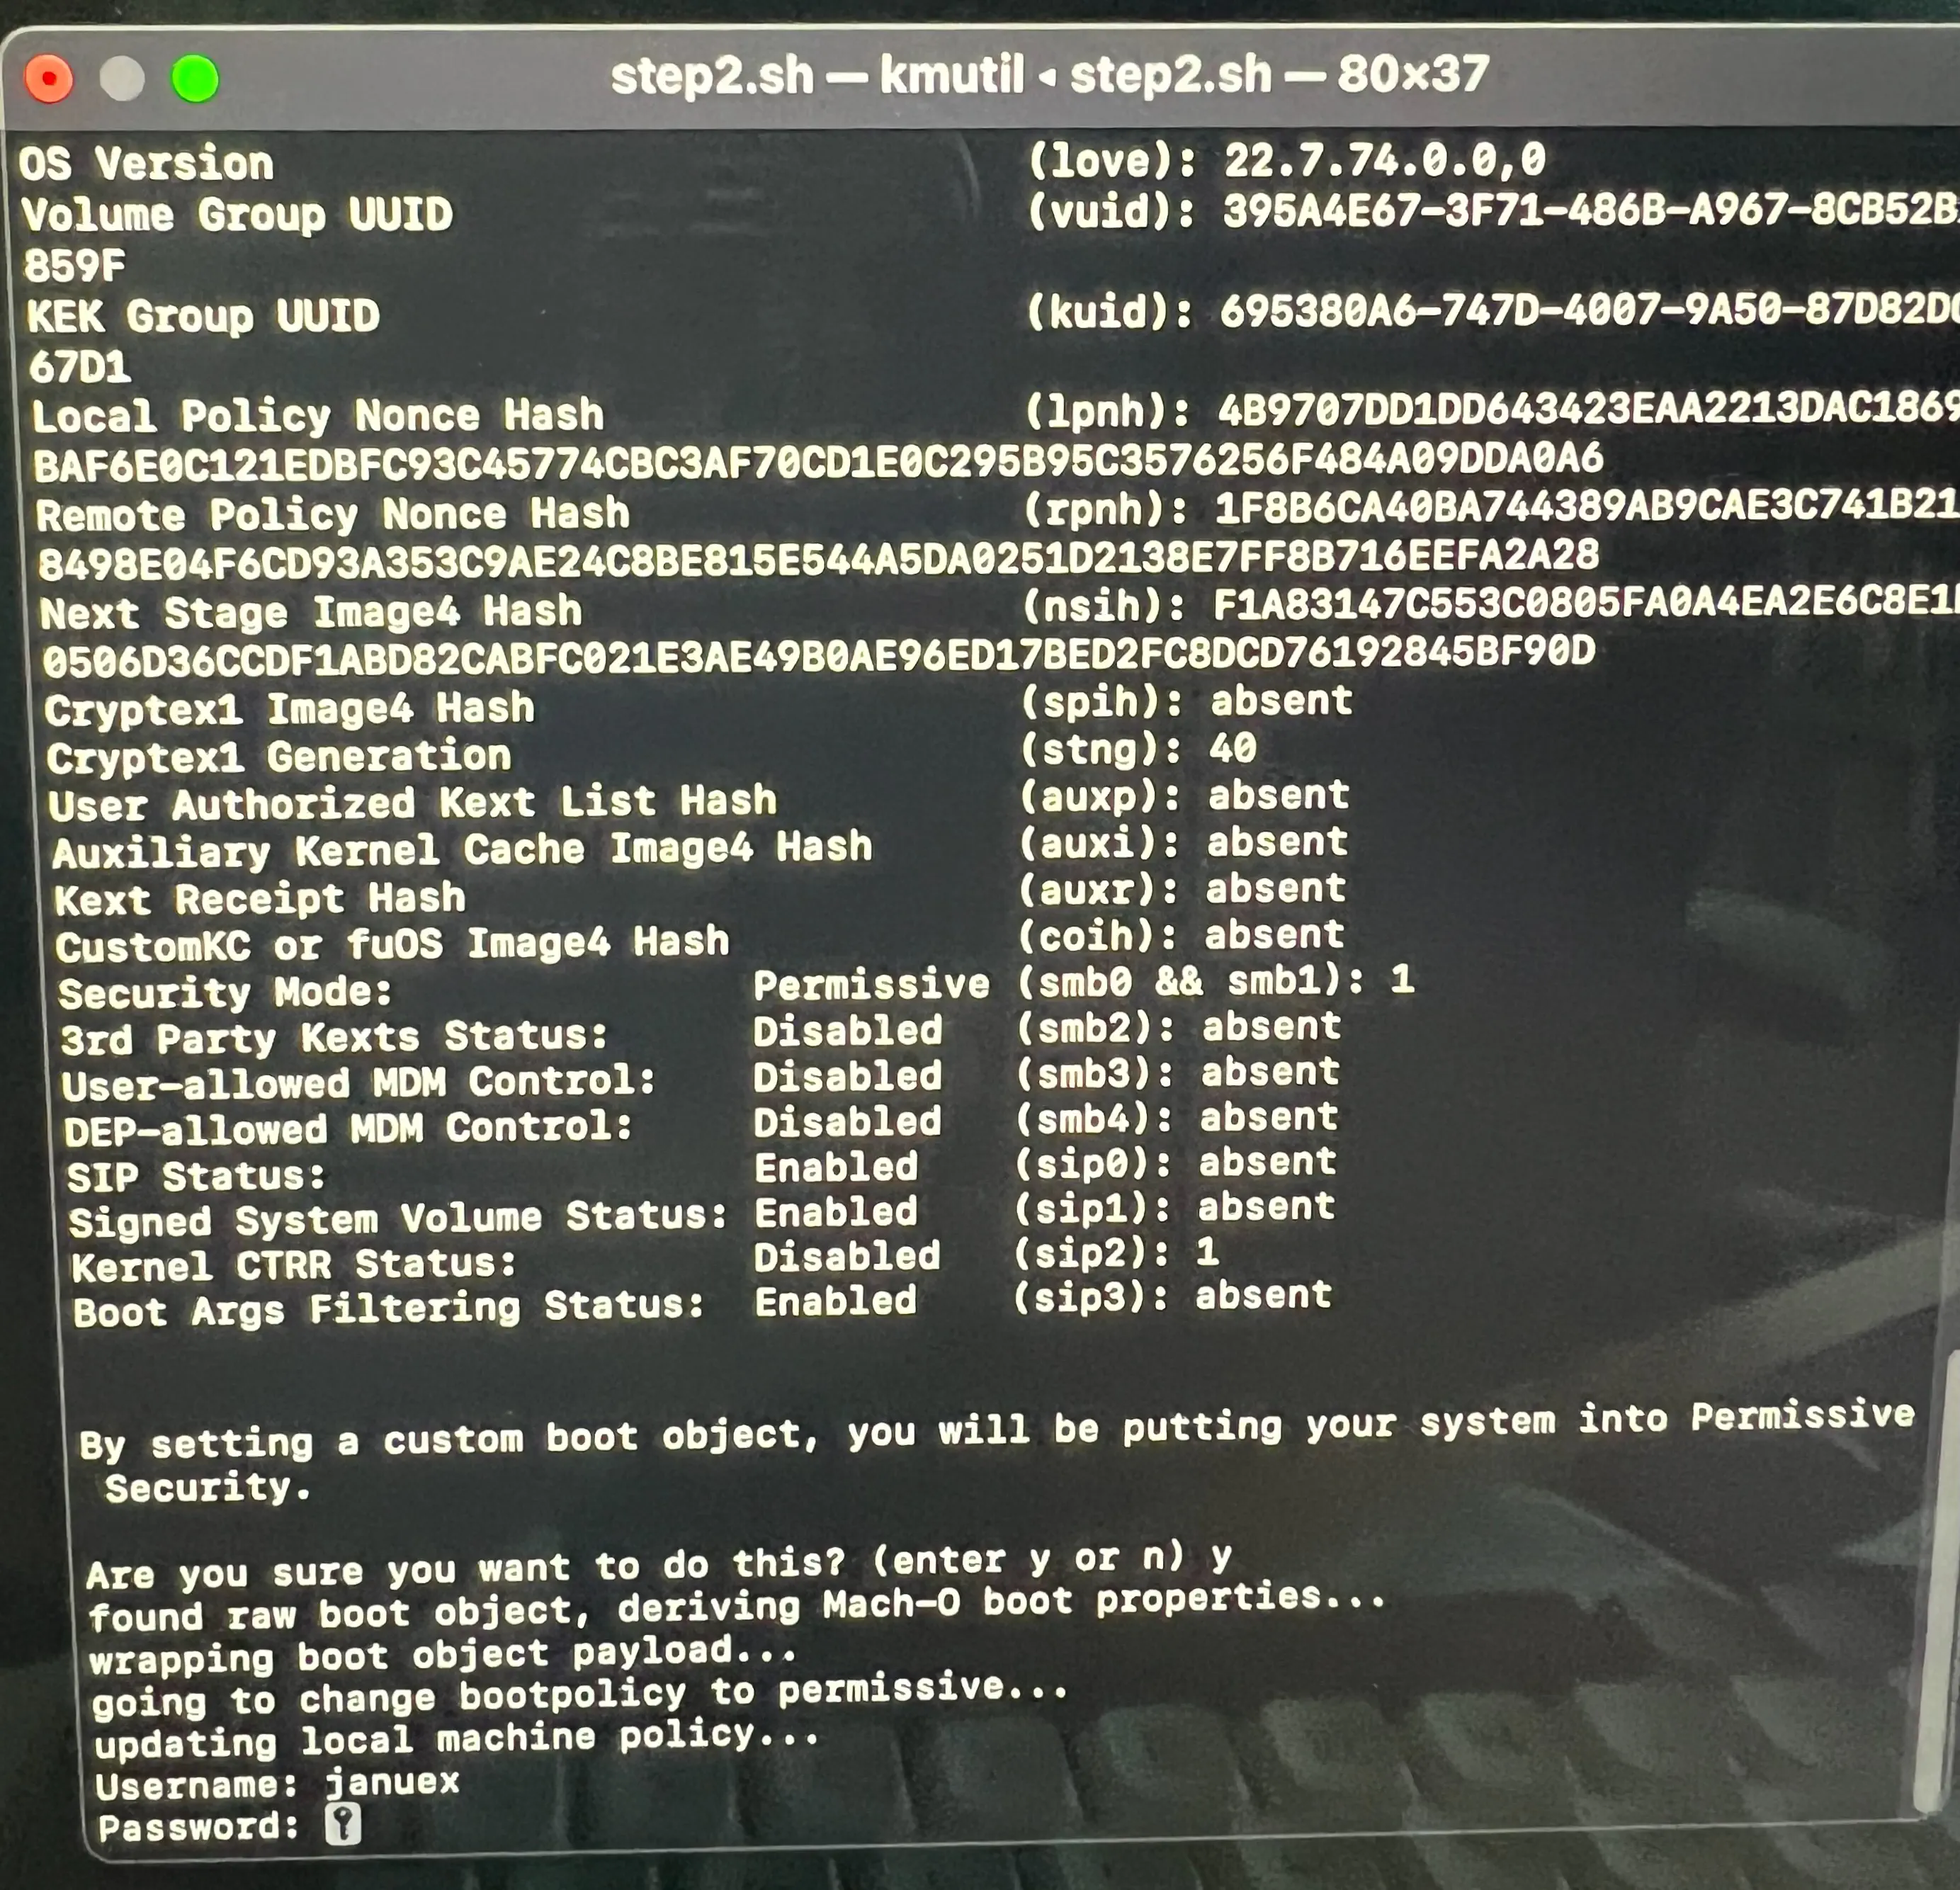
Finally, enter your macOS account and password one more time to finish the installation.
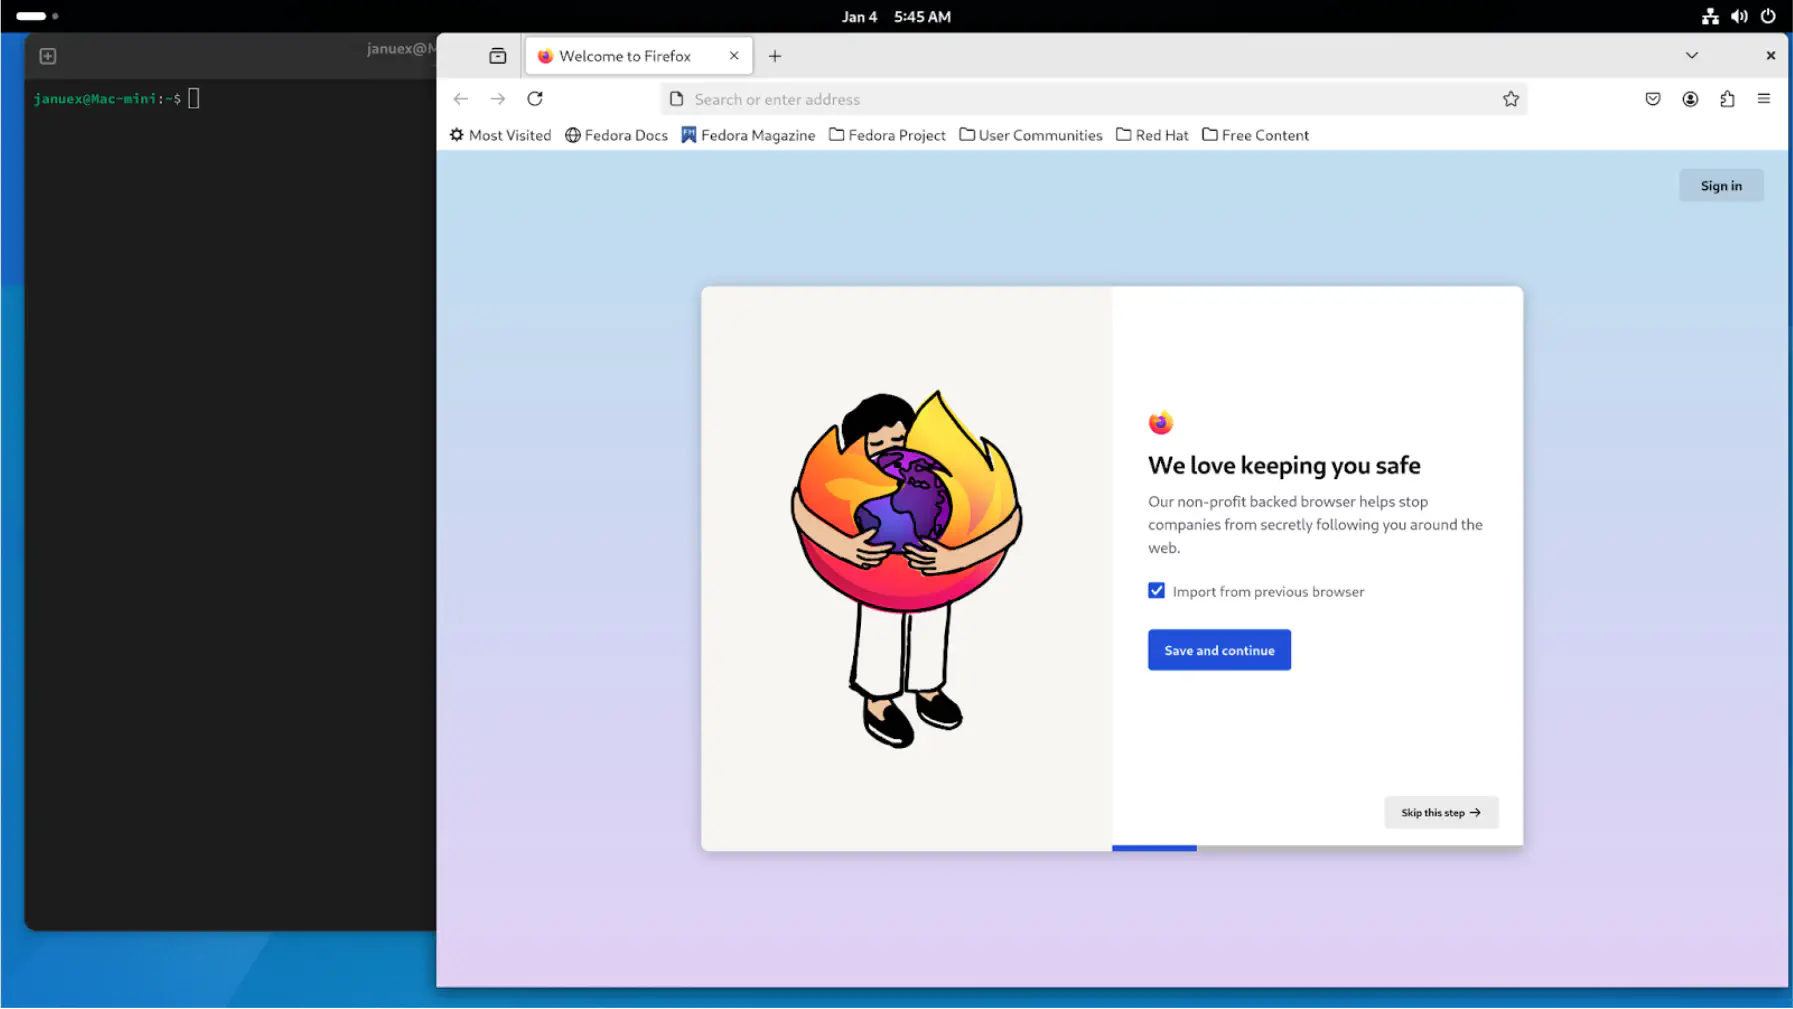
I was surprised at how straightforward the process was. Fedora boots automatically without requiring additional configuration. Since I plan to use the M1 Mac mini primarily via SSH, I won’t use the UI much.
The first thing I tested was Docker (my main reason for setting this up). It works flawlessly. (Compatibility on ARM-based systems might require further investigation.)
Known Issues #
- As mentioned on the official site, USB-C displays, Thunderbolt/USB4 are not supported.
- Use HDMI for monitors. If macOS was using USB-C, switch to HDMI.
- SSD enclosures do not work. I connected a USB-A external disk (WD My Passport 2TB) instead.
- USB-C hubs work, but on Asahi Ubuntu, they caused boot issues (possibly due to version-specific problems).
Conclusion #
The system feels surprisingly fast and smooth. While I haven’t used it extensively yet, it already feels like an exciting new “toy.” I plan to transition more development work to Linux and will share interesting discoveries along the way.

